Services
Quality controls, climatic and environmental tests state of the arts.To ensure high quality standard level we think it is important to have under control all of our production processes.
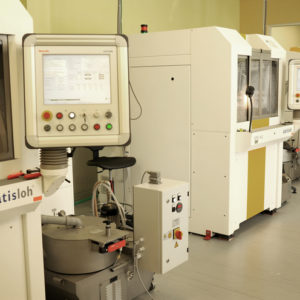
Our laboratory are fully equipped with modern control systems with which we can do:
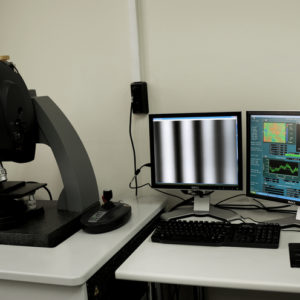
| Parameters to measure | Devices | Measurement accuracy (Resolution) | Measurement range |
|---|---|---|---|
| Linear dimensions | TESA Micro Hite 3D NewView 7200 Vickers Microscope IMC-100x50A (Russia) | 3 µm 0,3 µm 0,1 µm 5 µm | 400x490x390 mm 2 mm 1 mm 25x25 mm |
| Angular dimensions | TESA Micro Hite 3D Goniometer Γ -5 PrismMaster 150 | 3 µm/0,3m = 2 arc sec 2 arc sec 1 arc sec | 300 mm 360° 1° |
| Form deviations and true position | TESA Micro Hite 3D DEA GSP 07.10.05 | 3 µm 1,5µm + L/333 (0,039 µm) | 400x490x390 mm 700x1000x500 mm |
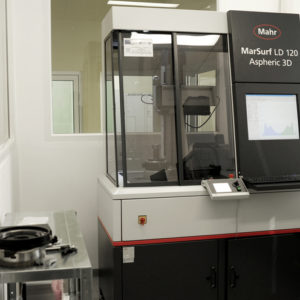
| Roughness | NewView 7200 MarSurf LD120 | 0,1 nm 2 nm | 0,1 µm 0,1 mm |
| Radii of curvature of test plates and spherical elements | IZS-7 (Russia) OWI 50 HP | 0,04% - 0,07% 0,001 mm | 10-1000 mm 0-200 mm |
In order to meet the demands of our customers that are working on industrial and especially military field (to meet MIL-C-48497), we are equipped to carry out:
Climatic and ambiental tests
We can test parts in extreme environmental conditions like warm, cold, humidity wind, water..etc
According to MIL-C-48497 we have some automatic chambers model YL-2236D to control temperature and humidity
The final testing and qualification is done at a special designed lab certified in accordance to ISO 17025 implementing a variaty of standards such us MIL-STD-810F, MIL-PRF-13830, MIL-C-48497, MIL-G-174.
We can make internally some tests like: shock test, water resistance, vibration, etc.
According to MIL-C-48497 we are fully equipped with different automatic climatic chambers model YL-2236D.
- Programmable temperature chamber with temperature range from -70°C to +150°C and accuracy of ±2°C
- Humidity chamber with relative humidity of 20%RH up to 98%RH and accuracy of ±5%RH
- Heat time: from room temperature to +150°C aprox 50 minutes (no load situation)
- Cooling time: from room temperature to -70°C aprox 90 minutes (no load)
Opto-electronic components analysis
Image intensifier tube test station type ITS-I/M for meausement of resolution, blemishes (dark and bright spots), photocatode luminous sensitivity, catode diameter, cross distortion, output brightness, non uniformity, MTF, halo, luminance gain and signal to noise ratio SNR
Night vision devices test station type NVT-A for measurement of focusing, resolution, screen quality (dark spots), system gain, distortion and collimation of night vision devices with aperture to 55mm
Laser Rangefinder test station type LT-A for measurement of pulse energy, pulse width, pulse frequency, beam divergence, receiver sensitivity, accuracy of distance measurement (single or multiple targets), bore-sighting of the laser emitter and of receiver
Thermal imagers test station DT-2000 enables measurement of the following parameters of thermal imagers and devices: MTF, SiTF, MRTD, noise parameters (NETD, non uniformity and FPN), FOV and distorsion; a mobile module of the test station enables measurement of key parameters right on the field
Test station JT 200T is a powerful system for alignment of thermal imager and/or multisensor platforms (day camera, thermal camera and LRF)
Test station for measure spectral transmission of opto-mechanical assemblies (objectives, eyepieces) and optical devices in spectral range 380-800nm in accordance with DIN 5838
MECHANICS
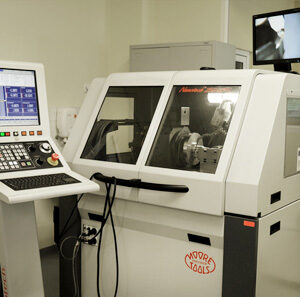
Our mechanical workshop is fully equipped with CNC machines for turning and milling of fine elements and complex components for assemblies using Aluminium, Magnesium, Steel and Alloys.
The measurements and controlling is done with with 3D measurement equipment, devices for control of surface roughness, high-precision gauges and profilometers.
Main products:
- Housing for medical, defence, space and civil applications
- Turning components with diameters up to 250 mm and tolerances up to 0.001 mm
- Milling elements with dimensions up to 400x400x350 mm and tolerance up to 0.001 mm
- Different types of precise rails, mounting rings and holders.
ASSEMBLY OF OEM SYSTEMS
We are able to supply not only optical and mechanical components but also totally integrated optical assembly solutions at the highest quality and competitive price level.
Most of the subassemblies are produced in high-grade claen room which meets class 1000 under laminar flow benches.

